Case Studies
In the world of animation, where creativity meets technology, Renderforest is your go-to solution. As the best free animation movie maker in the market, Renderforest empowers creators to bring their ideas to life with ease and precision. This guide is your ticket to learning all about Renderforest’s full potential, which will inspire you to make your own animation movie with tools like the free cartoon maker.
This type of filmmaking is the art of bringing still images or objects to life through a series of rapid movements. It is the backbone of every captivating movie, TV show, and even those delightful GIFs that populate your social media feeds. Whether it’s the whimsical antics of beloved characters or the breathtaking landscapes of a fantasy world, animation is a powerful storytelling medium.
If you’re wondering how to make animation in a movie maker, our creative vision is about to meet the cutting-edge technology of Renderforest. As we delve into the heart of animation, you will find that the Renderforest animation movie maker online takes center stage, able to convert your ideas into breathtaking cinematic experiences.
Can you imagine stepping into a world of infinite possibilities, where you are the director, the writer, and the animator all at once? With Renderforest, only your imagination is the limit. It doesn’t matter if you’re creating 3D animations, 2D stories, whiteboard animations, animated logos, explainer videos, or typography animations—we’ve got you covered.
Customization, animation, and sharing have never been as easy as doing it with Renderforest. We are your ultimate companion in crafting visual tales that leave audiences spellbound.
Be sure to check out our blog post on how to create animation videos for free if you’d like to sharpen your animation skills and use Renderforest’s free animation movie maker.
So, bring out your inner storyteller and watch your ideas come alive with just a few clicks.
3D animation is an immersive form of digital art and storytelling. Unlike traditional 2D animation, where characters and objects are flat and lack depth, 3D animation adds an extra dimension, creating a sense of realism and completion. Even a 3D animated logo tends to grab more attention than a regular one.
You can read more about 3D animation and its origins in our blog post here.
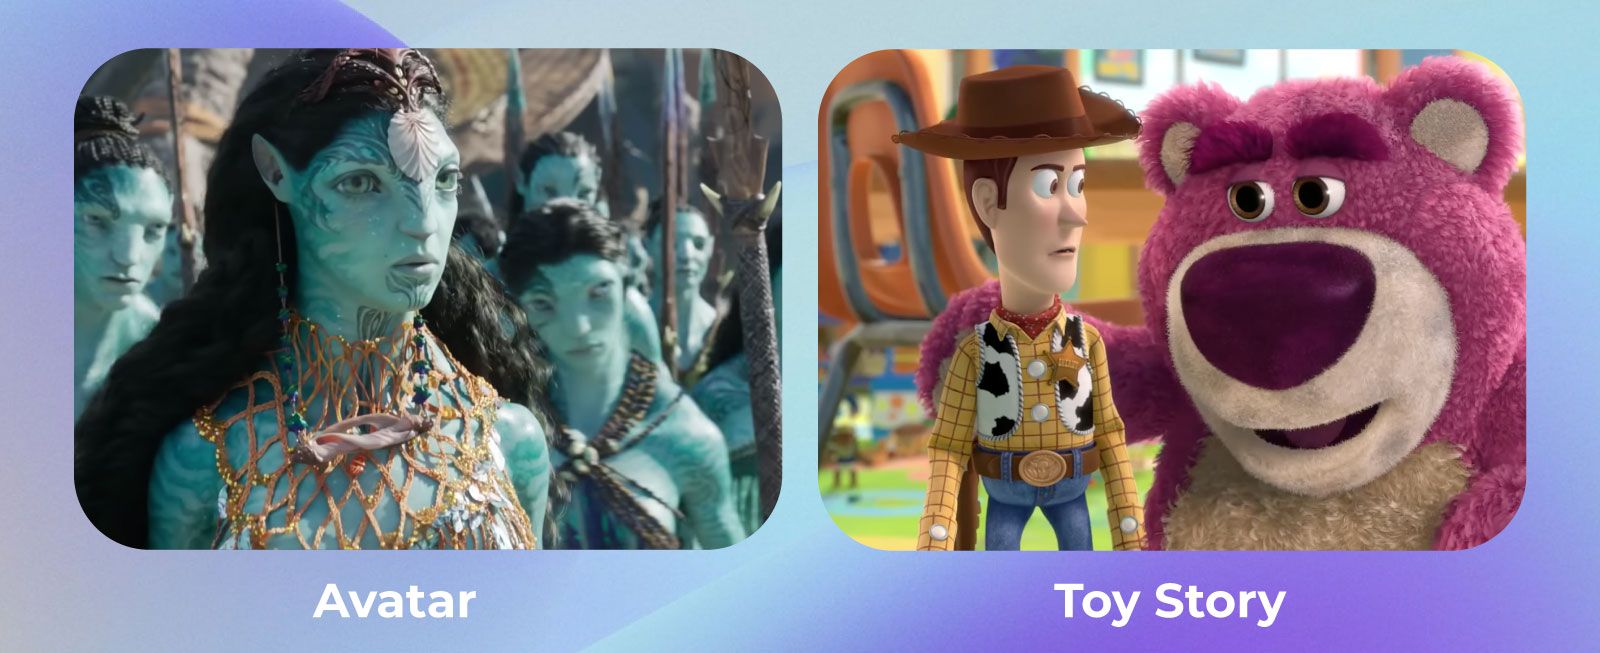
3D animation has revolutionized the film and gaming industries. As you may have seen in movies such as Avatar and Toy Story, characters, environments, and objects are created in a three-dimensional digital space, allowing for complex movements, realistic physics, and lifelike textures.
Additionally, businesses use 3D animation to showcase products in a more interactive and engaging way. For example, automotive companies employ 3D animation to demonstrate vehicle features and designs, and most companies are even creating eye-catching Zoom background videos for virtual meetings.
Now, are you ready to see how you can create your very own 3D animation using Renderforest’s 3D animation movie maker?
Every great animation begins with a compelling idea. Start your 3D animation journey by envisioning your project. What story do you want to tell? Who are the characters that will breathe life into your creation, and where will it all unfold? To make your vision tangible, gather your ideas and create a rough storyboard.
Take those abstract ideas and breathe life into them by crafting a rough storyboard. It’s here that your imagination takes its first tangible form, mapping out scenes and sequences, guiding your narrative, and setting the stage to make your own moving animation.
Storyboard Example:

A storyboard serves as the blueprint for your animation, outlining each scene and sequence. It’s your visual map, guiding you through the narrative and helping you make key decisions about the flow and pacing of your animation.
Being among the best animation apps, Renderforest’s free online 3D animation movie maker offers an extensive library of 3D animation templates that cater to a wide range of moods and styles. Templates provide an excellent starting point for your animation project, saving you time and effort in the initial stages.
Think of our templates as the head start your animation project needs. Instead of starting from scratch, you can pick a cartoon template that aligns perfectly with your vision.
It’s like having a skilled assistant who sets up the canvas, sketching the initial lines so you can dive right into the creative masterpiece.
Template Selection:
You can browse through Renderforest’s library and select a template that aligns with the mood and style you envision for your 3D animation. Whether you’re creating a fantastical adventure or a heartwarming family story, you’re sure to find a template that resonates with your project. There are even guides to help you bring your vision to life, such as how to create a minecraft intro or make animated videos.
Now, it’s time to infuse your chosen template with your unique vision. Renderforest’s user-friendly interface makes customization an intuitive and straightforward process. Begin by adjusting characters, scenes, text and effects to match your creative direction.

Customizing your template allows you to make it uniquely yours. You have the power to fine-tune every element, from character appearances to the ambiance of your scenes and the video intro. This step is where your creative input shines, giving your animation its distinctive personality.
With your template customized, it’s time to bring your 3D animation to life. Define movements, transitions, and expressions to ensure your characters and scenes interact seamlessly.

Animating your masterpiece is where the magic truly happens. If you’re curious as to what is the best animation movie maker software, it’s Renderforest. Why? Because our tools are designed to make this process as smooth as possible.
Once you’ve fine-tuned every detail and are satisfied with your 3D animation, it’s time to share your creation with the world. Renderforest offers a variety of export options, allowing you to choose the format that best suits your project’s needs.
Export Options:
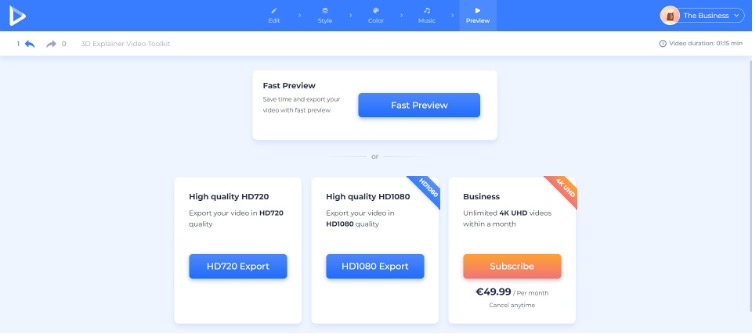
Select from the export options available and tailor your animation’s output to match your intended audience and purpose. Whether you plan to showcase your creation on YouTube, Vimeo, or through social media channels, Renderforest has you covered.
2D animation is a classic and beloved form of animation that relies on two-dimensional images and illustrations to create motion and tell stories.
Unlike 3D animation, which adds depth and realism through three-dimensional rendering, 2D animation retains a flat and often hand-drawn quality. It’s a versatile medium known for its simplicity and charm, making it a go-to choice for both traditional and digital storytelling.
2D animation has a long history in the entertainment industry. Classic Disney movies like The Lion King and contemporary series like Rick and Morty showcase the enduring appeal of 2D animation.
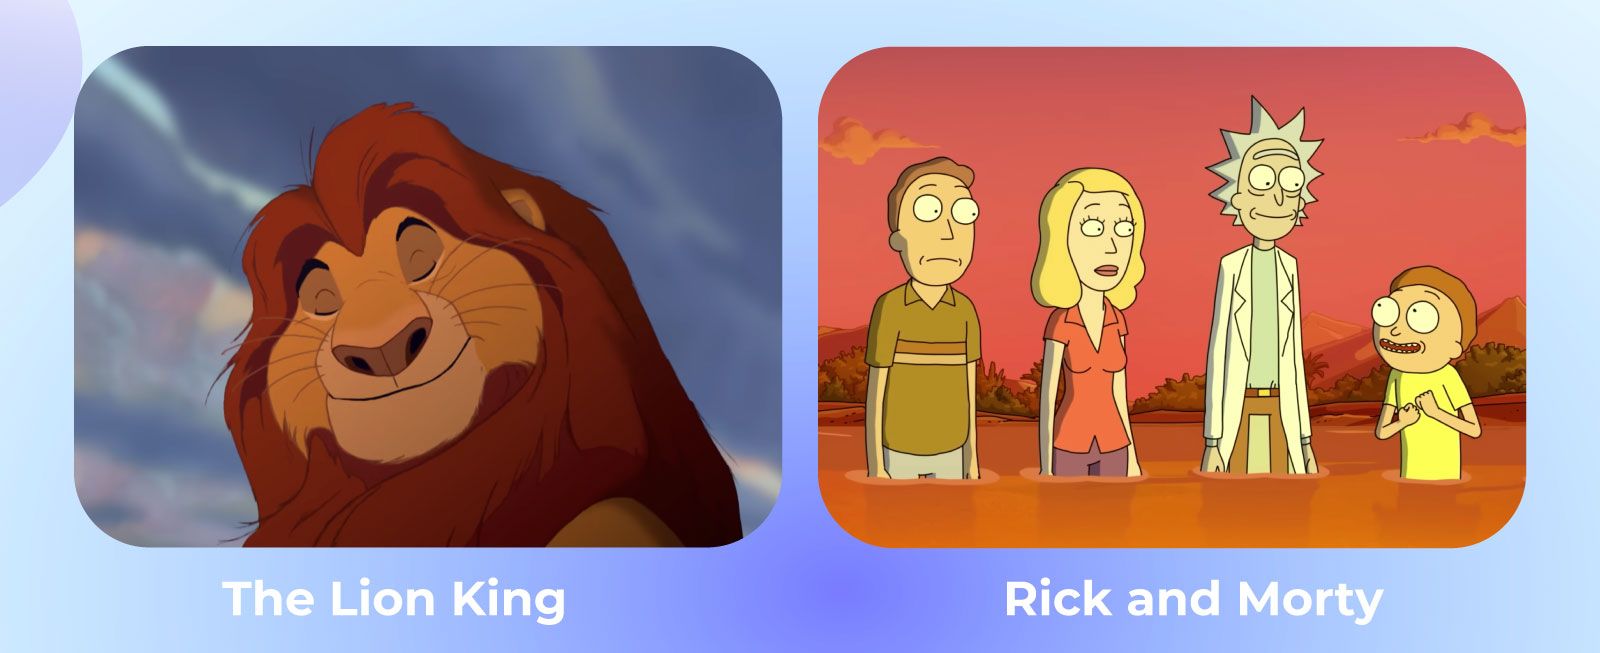
In addition, many educational videos and explainer animations use 2D animation to simplify complex topics and engage learners of all ages, like teaching older groups about apps with mobile app explainer videos. Khan Academy’s instructional videos are a prime example.
Now, let’s explore how to create your own 2D animation using Renderforest.
Begin by outlining your animation’s storyline and visual elements. A storyboard acts as your visual script, helping you plan each scene and transition. You can use tools like Renderforest’s storyboard feature to sketch your ideas.
Explore Our Whiteboard Template Now!
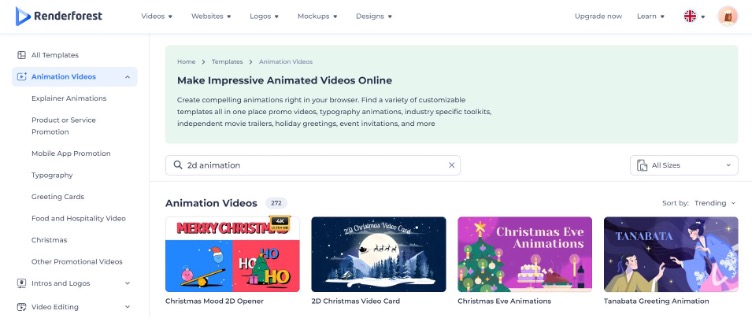
Head to Renderforest’s extensive library of 2D animation templates. Here, you’ll find a wide range of styles, from playful and colorful to elegant and minimalist. Choose a template that aligns with your story and message.
Now comes the fun part—customization. Use Renderforest’s user-friendly interface to personalize your chosen template.
With your animation customized, it’s time to breathe life into it. Define movements, transitions, and expressions for your characters and objects. Renderforest’s animation tools make this process intuitive, allowing you to watch as your 2D animation unfolds seamlessly.
This type of animation allows you to imitate the process of a hand drawing on a whiteboard or blackboard. Sounds enticing, right? The style often uses simple black-and-white visuals, making it highly effective for conveying complex ideas in an easy-to-understand manner.
Whiteboard animations are often characterized by a dynamic and educational tone, making them a popular choice for instructional and explanatory videos.
To enhance your knowledge of Renderforest’s animation software and create whiteboard animations that will hold your viewers’ attention, make sure to read our expert guide on using our video animation tool.
Usually, whiteboard animations feature a minimalist black-and-white visual style, which distinguishes them from the colorful and detailed visuals of other animation types like 3D or 2D. However, they can also contain a selection of colors and shades that are customized to your specific needs!
Whiteboard animations are excellent for creating explainer videos that simplify complex concepts. They are frequently used by businesses and organizations to clarify products, services, or processes. One notable example is the RSA Animate series, which visualizes lectures and speeches.
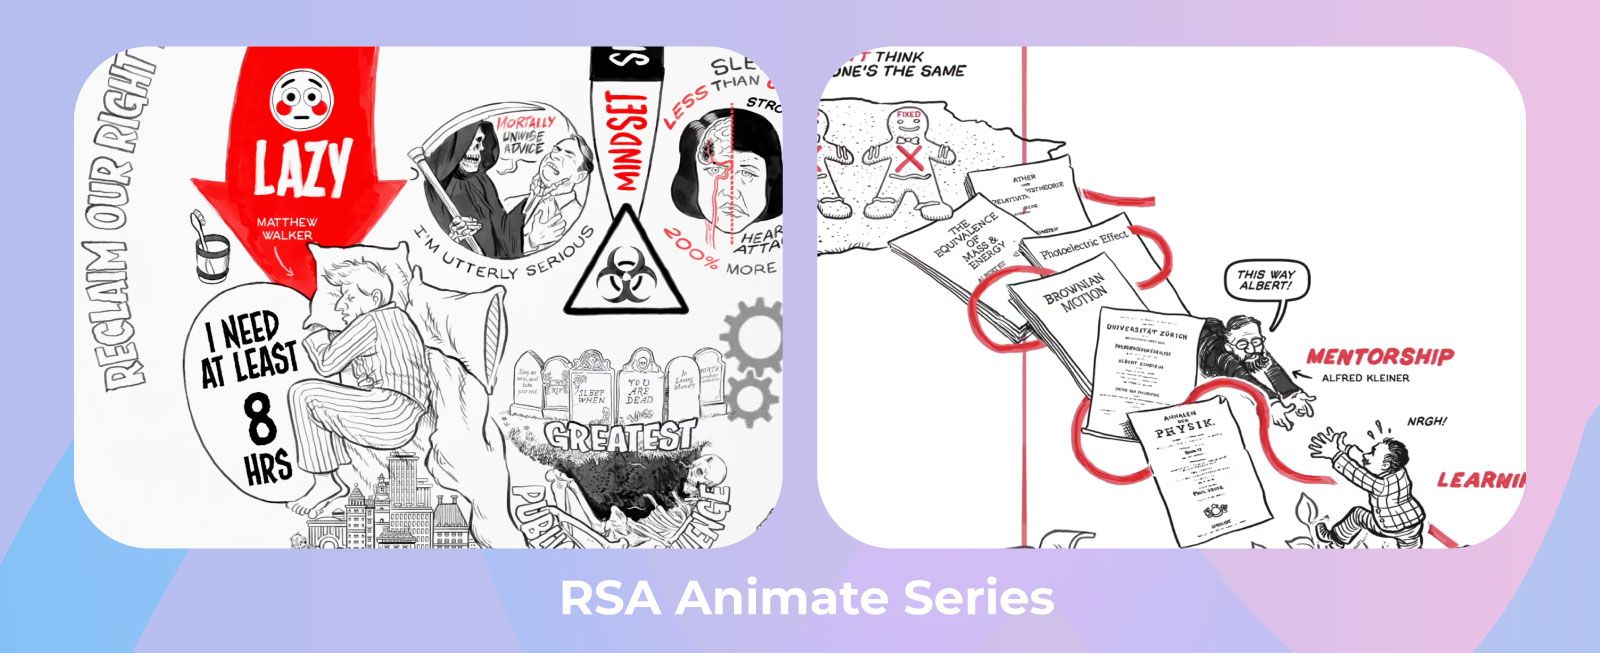
Whiteboard animations are valuable in educational settings. They help students grasp difficult subjects and concepts. The “Kurzgesagt – In a Nutshell” YouTube channel employs whiteboard animation to explain scientific topics.
Now, let’s explore how to create your own whiteboard animation using Renderforest.
Begin by defining the key points or message you want to convey in your whiteboard animation. This step is crucial because it sets the foundation for your storyboard and script. Clearly articulate the information you want your audience to understand.
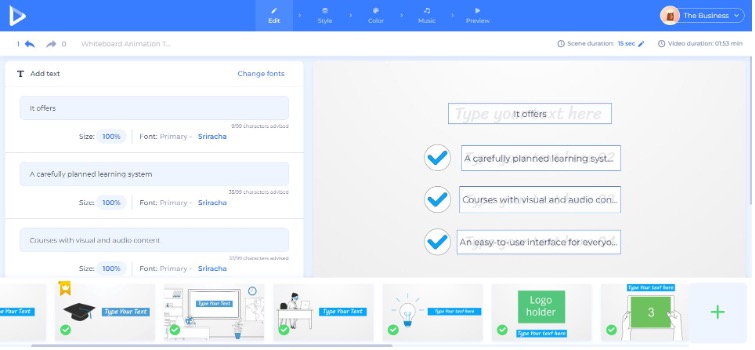
Navigate to Renderforest’s library of whiteboard animation templates. Here, you’ll find a variety of styles and themes. Select a template that complements your content and message. These templates provide a starting point for your whiteboard animation.

Now, it’s time to add your personal touch. Let’s start with text. Imagine the template as a blank canvas, and the text as your paintbrush. Tailor the wording to precisely convey your message, ensuring it resonates with your audience and perfectly aligns with your brand identity.
Characters are the heart and soul of your animation. Here, you have the power to mold them into your brand’s ambassadors. Adjust their appearance, expressions, and actions to breathe life into your story, making it uniquely yours.
Scenes set the stage for your narrative. Whether you’re painting a serene landscape or a bustling cityscape, make sure it reflects your brand’s style. It’s your world; we’re just helping you build it.
And the best part? Renderforest’s intuitive interface is your creative playground. It’s designed to make the customization process as smooth as a brushstroke on a canvas.
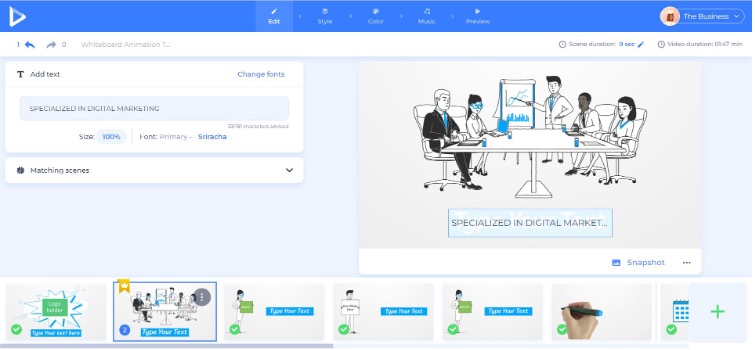
Hit the play button and witness your whiteboard animation come to life. You can preview it and watch as the hand draws, reveals, and explains your message in a visually engaging and educational manner. Your whiteboard animation is now ready to captivate and inform your audience.
With this final flourish, your whiteboard animation emerges as a powerful tool ready to capture the hearts and minds of your audience. It’s more than just a visual treat; it’s a dynamic educational experience that leaves a strong impression on those watching it.
This type of animation is a powerful communication tool that combines animation, visuals, and often narration to convey a message, explain a product or service, or simplify complex concepts.
These videos are designed to engage and educate viewers in a clear and captivating manner. They are versatile and can be used across various industries and purposes, from business marketing to educational tutorials.
The primary focus of an animated explainer video is to convey information clearly and concisely. Unlike other animations that may prioritize entertainment or storytelling, explainer videos are geared towards delivering a specific message.
Animated explainer videos can utilize different animation styles, such as 2D, 3D, or even whiteboard animation, depending on the message and brand identity. This versatility allows for customization to suit specific purposes.
Businesses often use animated explainer videos to introduce their products or services to potential customers. These videos effectively highlight key features and benefits. For instance, Dropbox gained significant traction with an animated explainer video during its early stages. Meanwhile, schools and colleges may make educational videos to make the learning process easier.
If you’d like to create an animated video for your business and don’t know where to start, our blog post on Animated Videos for Businesses is an excellent guide to get started.
Educational institutions and online learning platforms frequently employ animated explainer videos to simplify complex concepts and engage students effectively. The TED-Ed platform utilizes explainer videos to provide engaging educational content.
Now, let’s delve into the process of creating your own animated explainer video using Renderforest.
Begin by clearly defining the core message you want to convey in your animated explainer video. Identify the key information or concept that you want your audience to understand. This step sets the foundation for the entire video.
Next, head to Renderforest’s library of animated explainer video templates. Choose a template that aligns with your message and brand style. These templates serve as a starting point for your project.
Are you aiming for a playful and vibrant tone, or perhaps a more professional and sleek vibe? Our collection hosts a large number of moods and styles, each designed to cater to your unique vision.
These templates not only lay the groundwork and set the stage for your work, but give you the head start you need to start your creative journey.
So, explore, envision, and select the Renderforest template that resonates most profoundly with your message.
 |
 |
 |
Now that you’ve chosen the template that speaks to you, it’s time to put your unique stamp on it. With Renderforest, this customization process is a breeze, thanks to our user-friendly interface that’s designed with your creativity in mind.
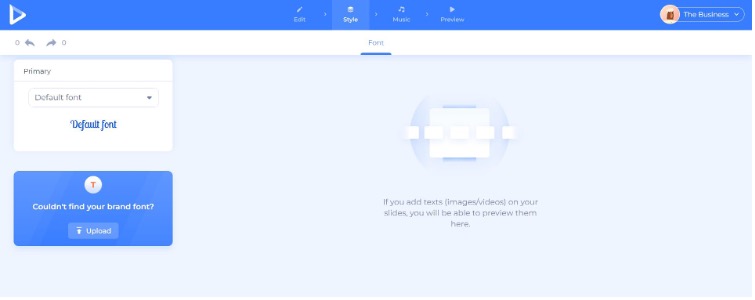
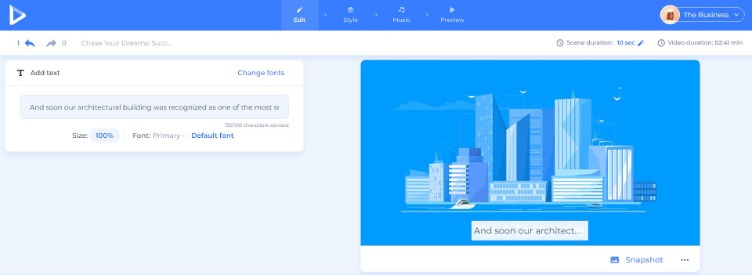
First, let’s consider the text. Is there a specific font that resonates with your brand’s personality? Do you want to tweak the wording to ensure it’s in perfect harmony with your message? This is your chance to infuse your animation with the essence of your brand identity.
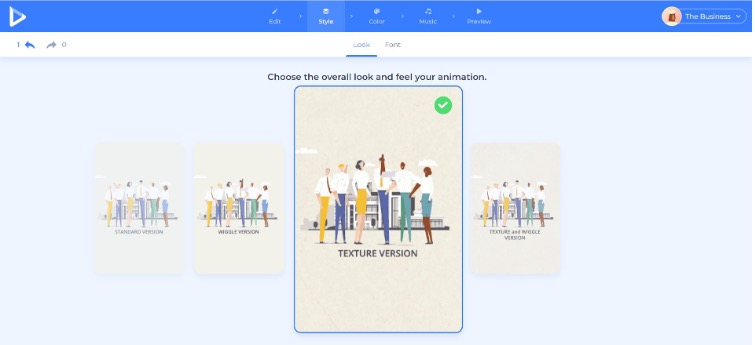
Next up, visuals. Here, you have the power to shape the look and feel of your animation. Are there specific colors that represent your brand? Should the visuals exude a playful or a more professional vibe? With just a few clicks, you can make these adjustments, turning the template into a visual symphony that echoes your brand’s unique style.
And let’s not forget about effects. This is where you add that extra touch of magic – whether it’s a subtle fade-in, a dynamic transition, or a playful pop. These effects enhance the visual experience and ensure your animation is a feast for the eyes.
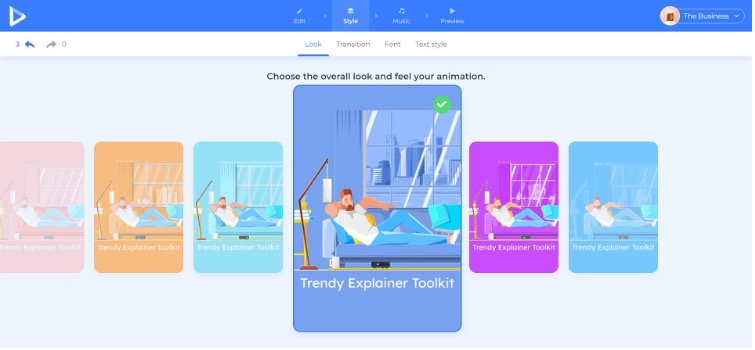
After customizing your video, review it to ensure it aligns with your vision. Once satisfied, export the video in your desired format. Renderforest offers a range of export options to suit different platforms and purposes.
With a few clicks, you can export your video in the format that best suits your intended platform – whether it’s destined for YouTube, social media, or your own website. Renderforest understands that different purposes call for different formats, and we’ve got the options you need.
Also known as kinetic typography or text animation, this animation style is a captivating form of motion design that brings text to life through movement, transitions, and visual effects.
In typography animations, text becomes more than words on a screen; it becomes a dynamic and engaging visual element. These animations are often used to convey messages, quotes, or stories in an aesthetically pleasing and impactful way.
Typography animations center around text, making the words themselves the primary visual element. In contrast, other animations may use characters, objects, or scenes as their focal points.
Typography animations often have a minimalist and modern aesthetic, relying on typography and creative text manipulation. This sets them apart from animations with more intricate visuals.
Brands use typography animations to convey their slogans, taglines, or key messages in promotional videos. For example, Apple’s product launch videos often feature typography animations that emphasize product features.
Branded typography animations are effective for creating attention-grabbing social media content, such as Instagram stories or YouTube intros. They can quickly convey information or set the tone for a video.
Now, let’s explore how to create your own typography animation using Renderforest.
Begin by defining the text you want to animate. Consider the message you want to convey and how you want to present it visually. This step sets the foundation for your typography animation.
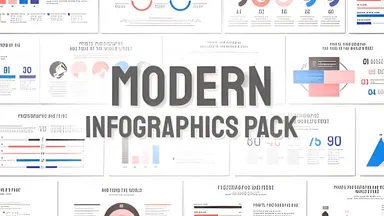
Head to Renderforest movie title animation maker’s library of typography animation templates. Choose a template that suits your message and desired style. These templates serve as a starting point for your project.
 |
 |
 |
Customize the selected template to match your branding and message. Using our online movie title animation maker, you can adjust text styles, animations, transitions, and colors to create a unique and visually appealing typography animation.
After customizing your animation, preview it to ensure it aligns with your vision. Once satisfied, export the animation in your preferred format. Renderforest offers various export options to suit different platforms and purposes.
Whether you intend to upload it on YouTube, place it in the social media spotlight, or post it on your own website, Renderforest offers a variety of export options tailored to your needs.
As with other animated videos discussed before, you can preview and export your video in any preferred format and in high quality.
As we wrap up this animated journey through the world of Renderforest’s animation maker, remember that creativity knows no limits here. It’s not just about making animations; it’s about crafting stories, sharing ideas, and sparking emotions.
With Renderforest’s free animation movie maker software, you’re not just a creator; you’re a storyteller, an artist, a magician of imagination.
Whether you’re taking your audience on a whimsical 2D adventure or diving deep into the immersive realms of 3D, we have your back as you make your own animation movie for free.
From business explainer videos to heartwarming family tales, Renderforest fuels your creativity, turning your concepts into captivating animations.
So, let your ideas flow, and turn your dreams into animated reality by successfully learning how to make your own animation movie online.
Article by: Renderforest Staff
Dive into our Forestblog of exclusive interviews, handy tutorials and interesting articles published every week!
Read all posts by Renderforest Staff

