Case Studies
Making infographic videos online is now way too easy and fast, once you find the template you like. But why create infographic videos?
Because we live in a complex world, with complex ideas, concepts, and issues, infographic videos are made to make everything simple and easy to digest.
Besides being a great way to explain things, they can also increase the engagement of your website and help you promote your app, service, or product.
You might think that high-quality infographic videos are a result of hours of hard work and great talent, but don’t overthink this, usually, they are not. You don’t need any grand skills and difficult software to make it.
With Renderforest, creating an infographic video can be quick, exciting, and effective. Here’s a simple example of what you can create with us.
Are you ready to start making your infographic video? Let’s start right away.
To make an infographic video with Renderforest, you will first need to Sign in to your account. If you don’t already have one, you can Sign up on our platform for free. Once you’re in, go to the “Create video” section on the menu. Next, press on the “Presentations” sub-section, and choose the “Infographic videos” option.
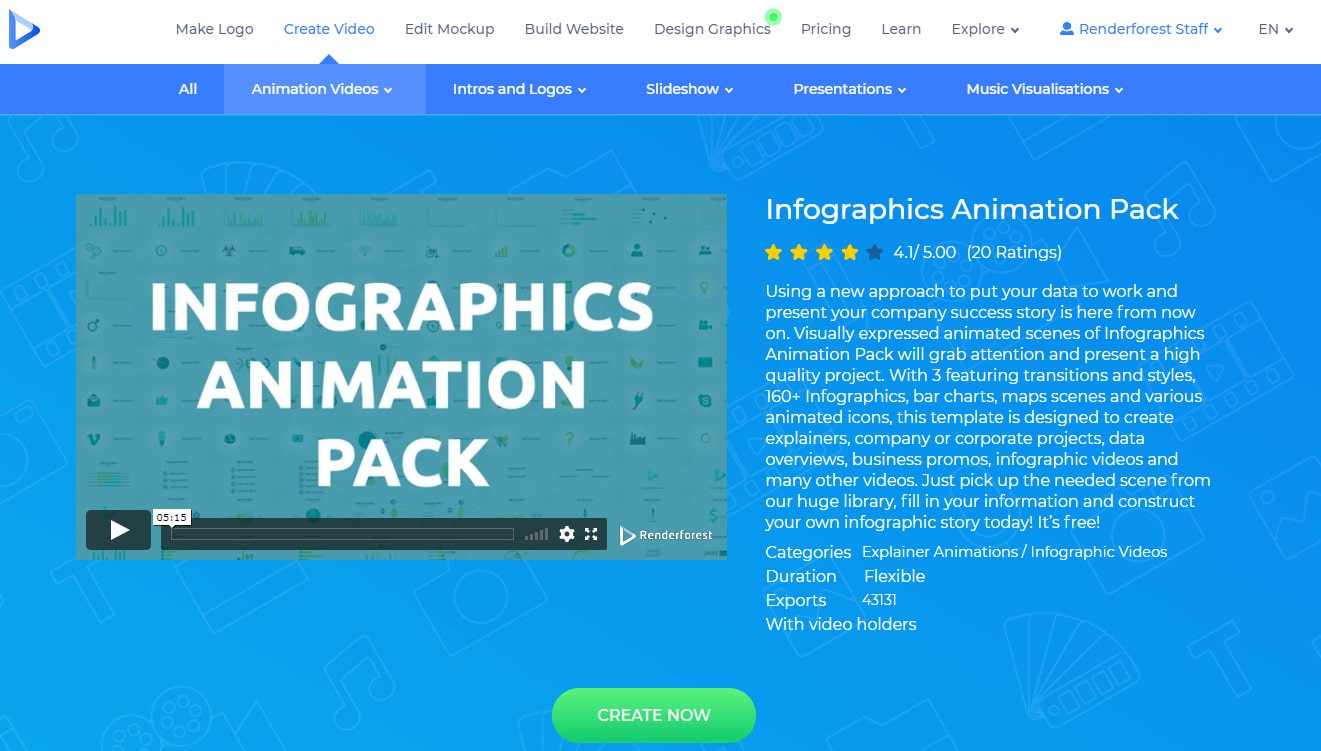
Here you will face a growing collection of infographic video templates, to start working with. For this tutorial, we’ll use the “Infographics Animation Pack” template, with more than 200 customizable scenes.
Once you choose your favorite template, click on the “Create now” button, to start.
The next step is choosing the way you want to create your video.

The “Load a preset” option offers a variety of presets to choose from. They are ready stories that can be edited and personalized. Once you choose a preset, click on the “Use ready story” to start.
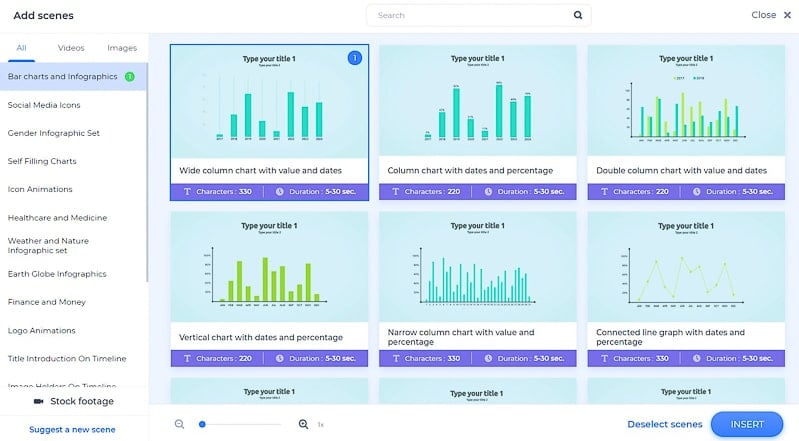
And when working with the “Add scene” option, you will be able to choose the scenes you want, on your own. The scenes here are divided into several categories for you to easily find what you need. There are infographic scenes for topics, such as gender, weather and nature, healthcare and medicine, finance and money, and more.
The “Bar charts and infographics” section will help you choose many types of charts, including combo charts, column, vertical, pie, donut, etc., charts. Here you can also choose time icons with text holders, as well as many kinds of diagrams.
In the “Checkmarks and X-marks” section you will find some scenes to help you list off the points you need, or write down a set of dos and don’ts about your topic.
The “Logo animations” category will help you choose a scene with a logo holder, in case you have one. And if you don’t, you’re welcome to create one on spot.
In the “Finance and money” category, there is a list of scenes waiting for you to show the increase and decrease of certain things with bars, money currency icons, and more.
The “Icon animations” section is full of different kinds of scenes with icons, to use in your infographic video. Here you can find random useful icons, that you can’t find in the other categories, such as music, chat, photo and video, email, idea lamp, and other icons.
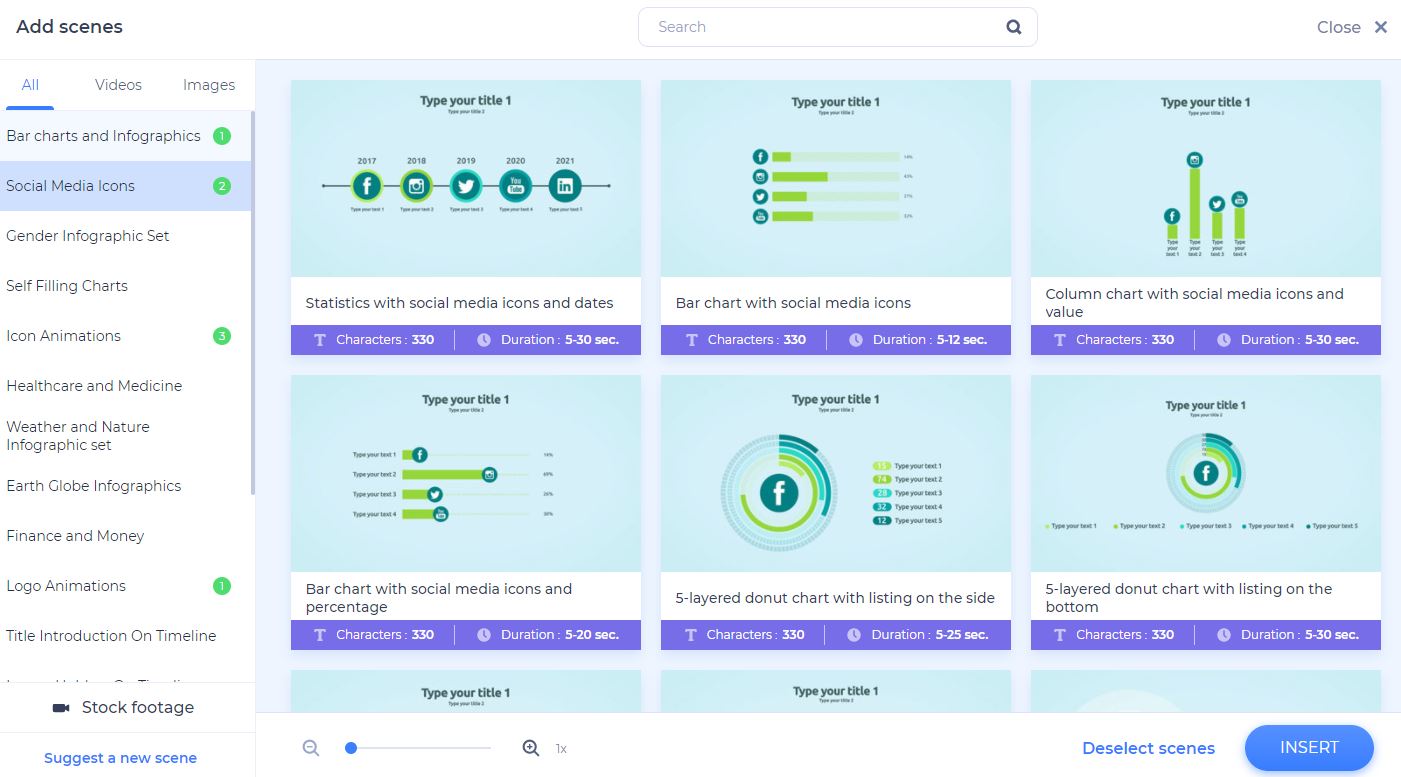
With the help of the “Social media icons” category, you will be able to introduce some statistics connected to them or show your results on those platforms.
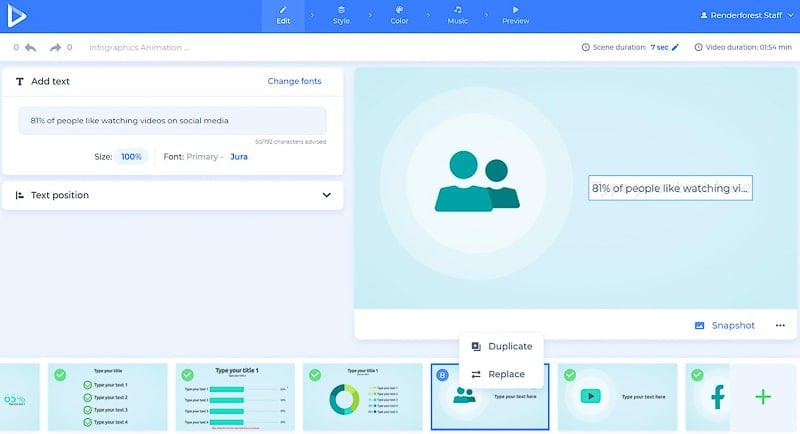
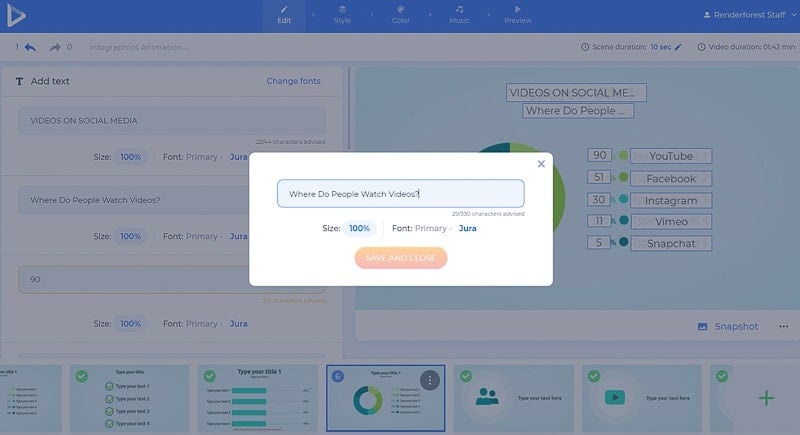
To change the default text information in your scenes, add your texts and numbers to their appropriate fields. Click on the text holders you want to edit and type in your data. Change the size of the text as well, by clicking on the “100%” option under the text field.
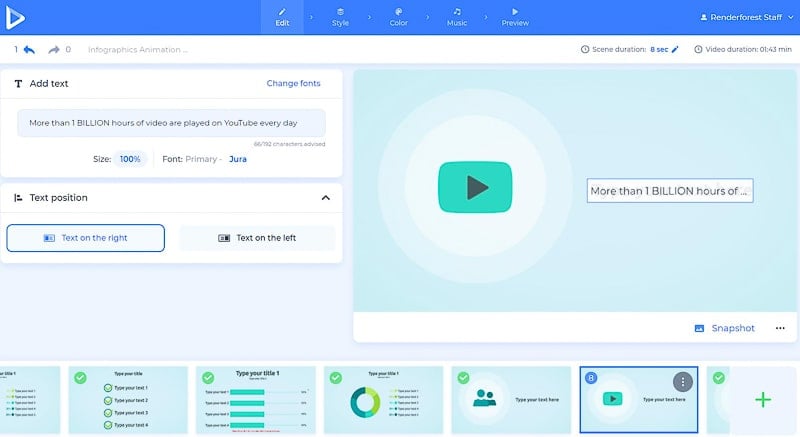
Adjust the position of the text according to your liking in the “Text position” field from the editing tools.
Add your logo as well, by clicking on the logo holder field. If you don’t have a logo yet, you can create one on spot using Renderforest. To do so, click on the “Create logo” option.
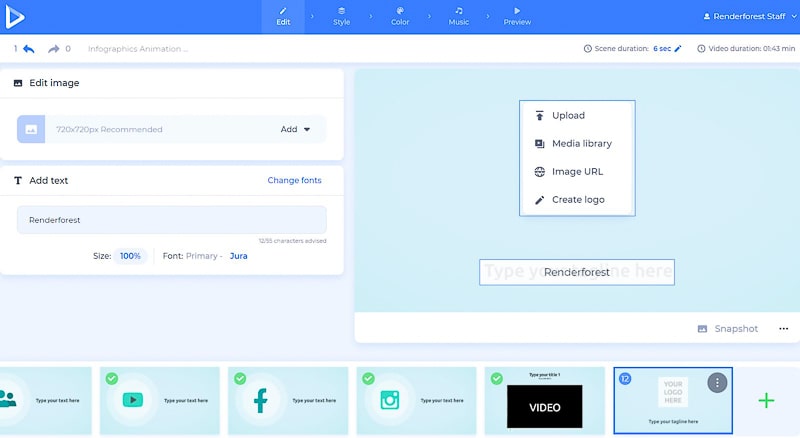
Add media files to the scenes using video and photo holders. For that, click on the image or video holder scenes and choose “Upload.” If you want to choose a file from your previous uploads, you can click on the “Media library” option. If the media files are on the web, choose the “Video URL” or “Image URL” option, and the “Stock footage” or “Stock image” option, to pick some from our collection.
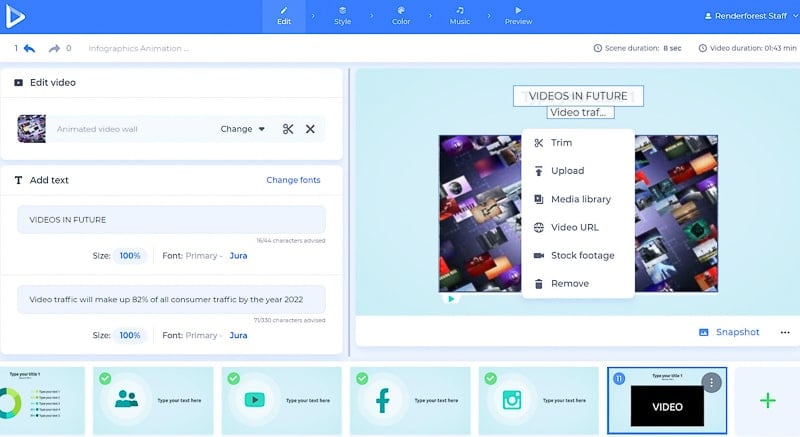
In the “Style” section, you can choose the transition style for the scenes, to make your infographic video more dynamic.
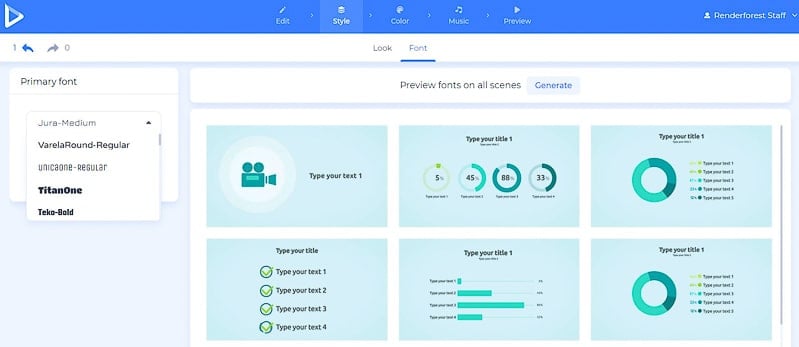
Select the text fonts of your video then click “Generate” to see the changes in your scenes.
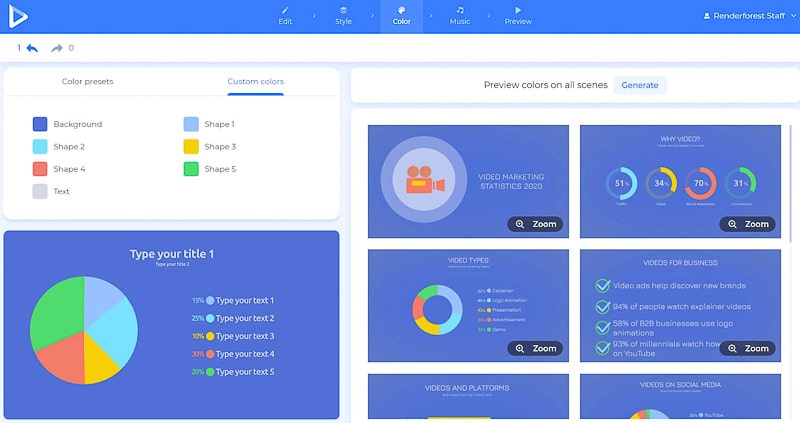
The “Color” section will help you change the color scheme of your video. Pick a scheme and click on the “Generate” button, to help you preview the color changes, before saving it. If you don’t like the offered color schemes, you can create your own combination in the “Custom colors” option.
In the “Music” section, there is an option for you to add a voice-over to your video to explain your information in a better way. You can upload it from your device, or record it on the spot. There are easy ways for you to cut it, lower the sound of the recording, replace it, or mute it completely. Note that for each of the scenes the voice-over can be different.

If you don’t need a voice-over, there is an option for you to choose a track from our library, “Upload” music from your device, pick one from your previous uploads, or leave it without a sound.
Then, go to the “Preview” section, to watch your infographic video before exporting it.
There are two ways for you to export your video. The first one is the free option, offering SD360 quality videos with the Renderforest watermark. You will be able to edit, download, and publish your videos any time you want by going to the “My videos” page of your account. The other, “HD export” option, offers you to choose one of our paid subscriptions, and download your video with high-quality and no watermark. See the details about our pricing here.
Your infographic video is ready to be shared and included in your presentations. Excited to create more with us? Here are some templates you might like working with.
Be a step ahead in the market, by introducing your data to your followers with modern infographics. Over 500 animated icons, bar charts, map scenes, and more, are waiting to renew your infographic expectations. Perfect for business presentations, explainer videos, and more.
Promote your company or small business with the help of over 80 scenes, diagrams, charts, and more. Suitable for company introductions, presentations, and other projects.
If you want to turn your website into a platform with many visitors, then this pack is for you. Promote your business with videos full of graphic design, social media, app, payment-related scenes, and this is just the beginning.
Deliver your message and promote your brand using this huge pack of almost 200 animated icons. Perfect for ads, websites, ads, marketing and company presentation, and other projects. A good online animation maker lets you create stunning animations easily and without the complex softwares.
Article by: Renderforest Staff
Dive into our Forestblog of exclusive interviews, handy tutorials and interesting articles published every week!
Read all posts by Renderforest Staff

