Design
We are very excited to share with you the new and improved design of the “My Projects” page! If you have made videos with Renderforest before, you’re probably familiar with the “My Projects” page, where you have access to all of your projects.
With our latest updates, you now have more control over how you edit and export your videos. So, without further ado, let’s see what’s new.
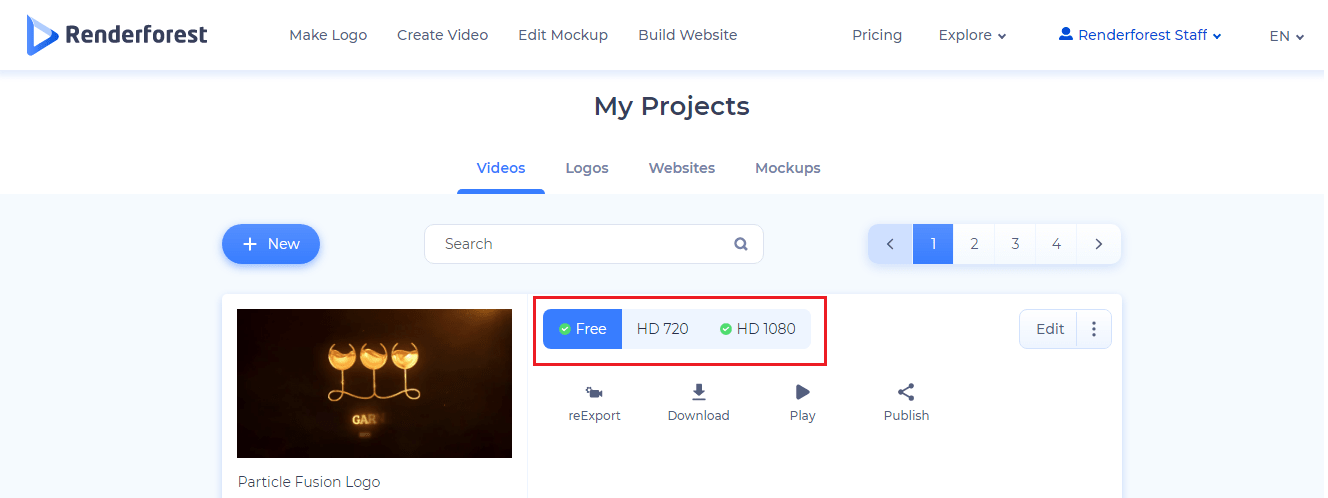
The first thing you’ll notice, as you go to “My Projects”, is the updated design of our video quality options and their new functionalities. They allow you to choose the video quality in one click and complete the available actions provided below.
Displayed under your video, you’ll find the edit and export dates. They show you when you last edited your video project and exported it in the selected video quality.
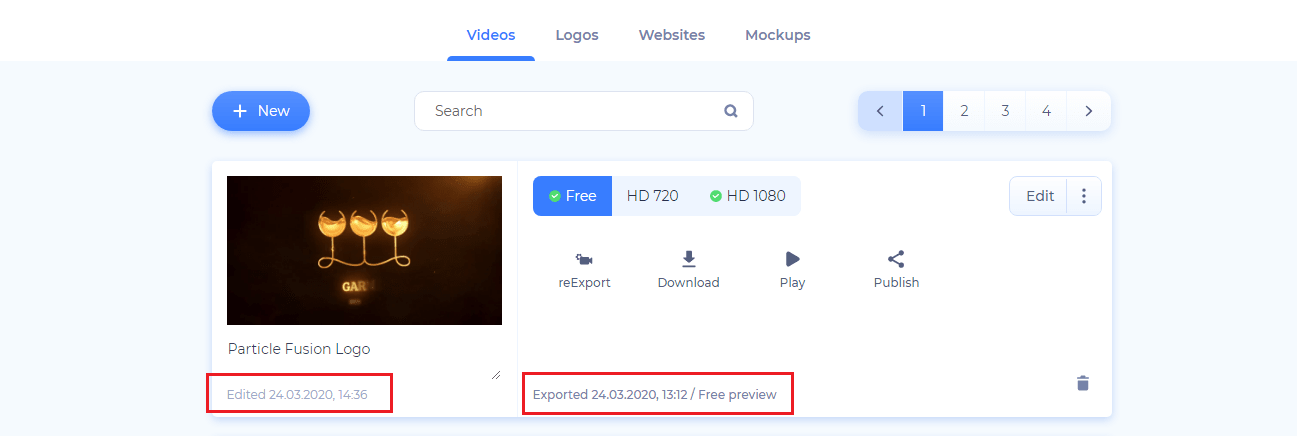
This allows you to see if any edits have been made after your last export. You can easily re-export your video to make sure you have the final version.
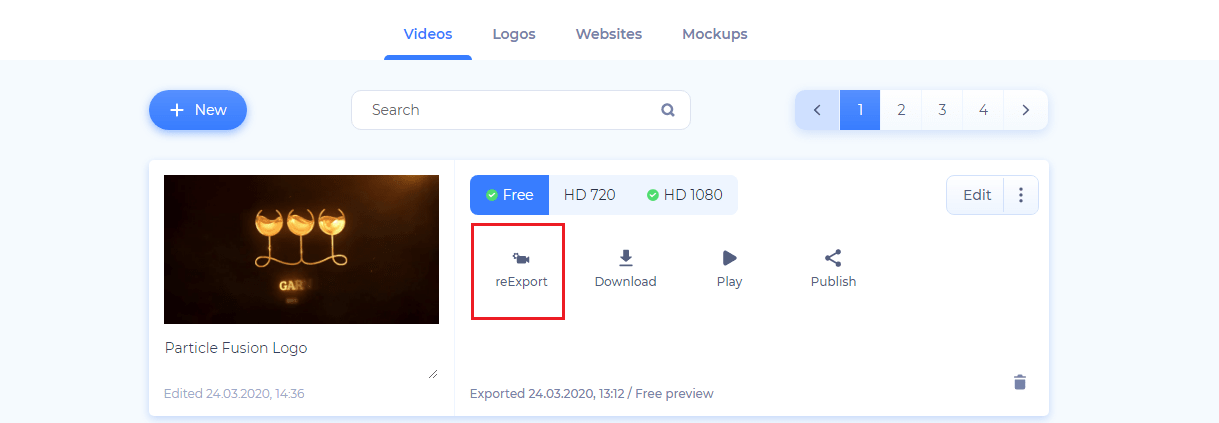
Once you’re satisfied with the results, download your video or publish it on your preferred platform.
Keep in mind that in order to download or publish a video, first, you’ll need to export it in your desired quality. Selecting each quality, you’ll be able to see if you have exported your video in that specific quality or not.

In the example above, the video hasn’t been exported in HD 720p, therefore, we can’t download or share it.
Moving along, next to the quality buttons, you’ll see the “Edit” button. It directs you to Video Maker’s editor, where you can further work on your video.
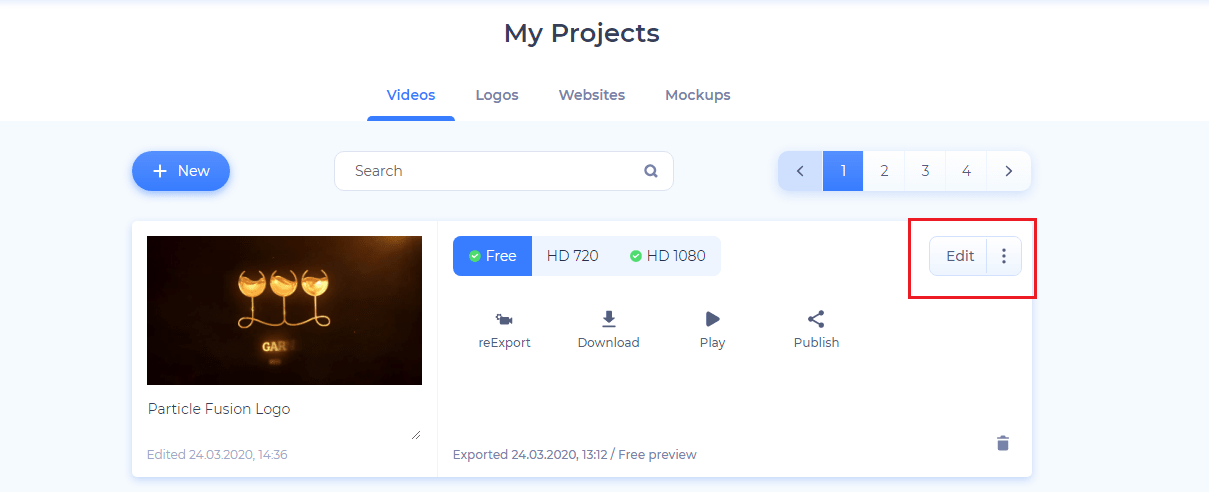
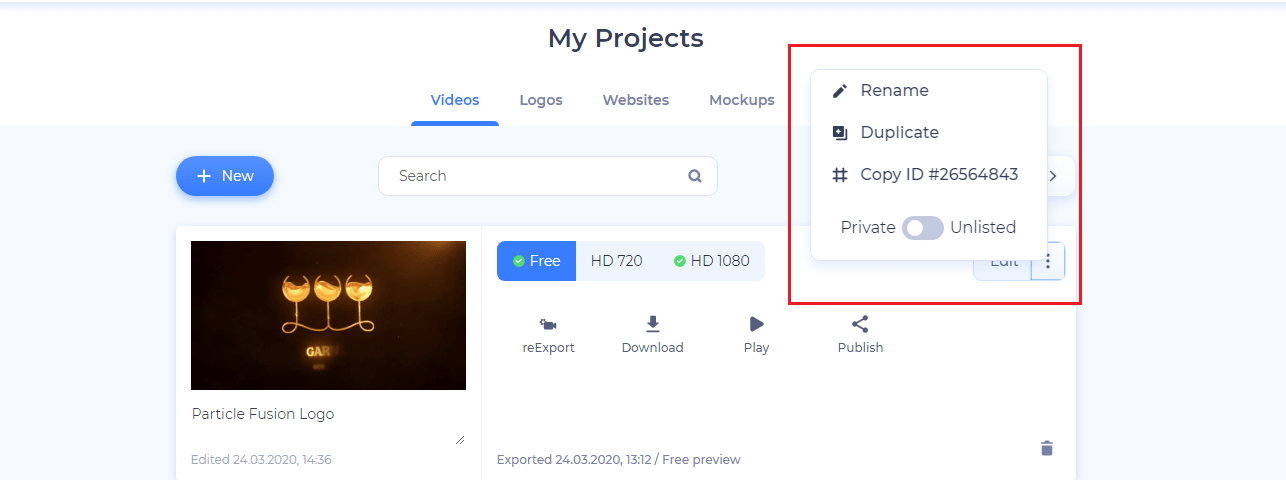
Right next to the “Edit” button, we have a three-dot menu. It gives you a few more options for your project, such as to rename it, duplicate it, copy the project ID, or switch between private and unlisted.
We are constantly improving to ensure your enjoyable experience on our platform. So, stay tuned for future updates!
Click the button below to choose a template and start your new project now!
Article by: Renderforest Staff
Dive into our Forestblog of exclusive interviews, handy tutorials and interesting articles published every week!
Read all posts by Renderforest Staff

