Design
You might have already noticed our new “Snapshot” button while editing your projects. Did you give it a try? Excited about it, right?
We are also very excited to introduce our new feature, which will make video editing easier.
Save your time on previewing the project after every single change you make. Press the Snapshot button to see how your text, its size, and placement will look like after exporting your project. Let’s break it down, stage by stage!

Step 1: Type your text
Step 2: Change the font size using the slider below ( if needed)
Step 3: Select the visual placement you prefer.
Step 4: Press the “Snapshot” button to see the made edits.
Easy enough?
After making any edits on every scene, the system will automatically take a snapshot for you to see the changes you have made.
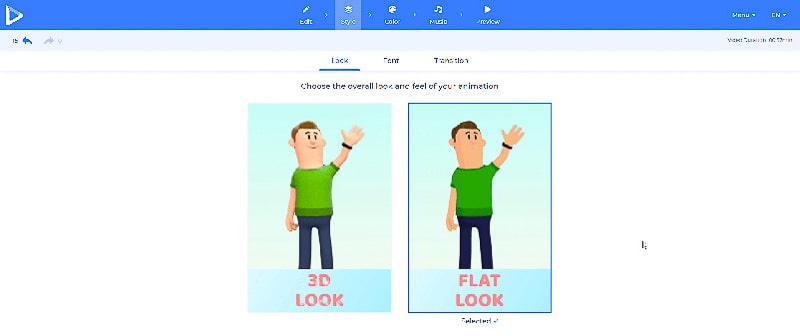
Do you want to change the style of the animation and still see the upcoming results? Simply go to the “Style” tab to pick the style you prefer.
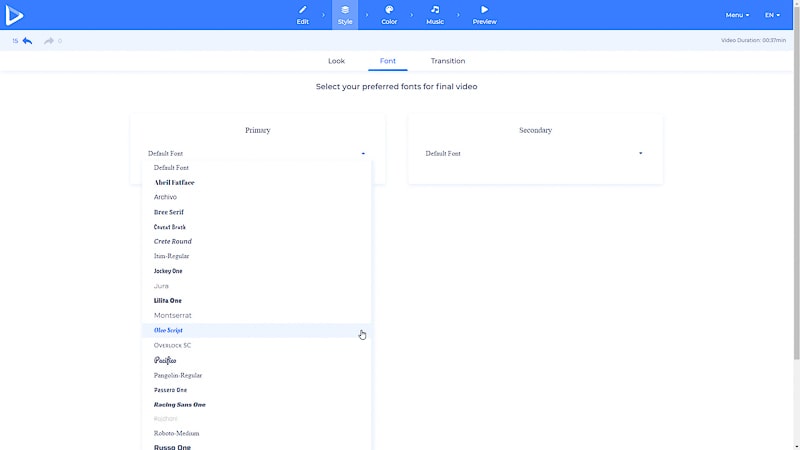
Find more options in your “Style” tab, select your preferred fonts for primary and secondary texts.
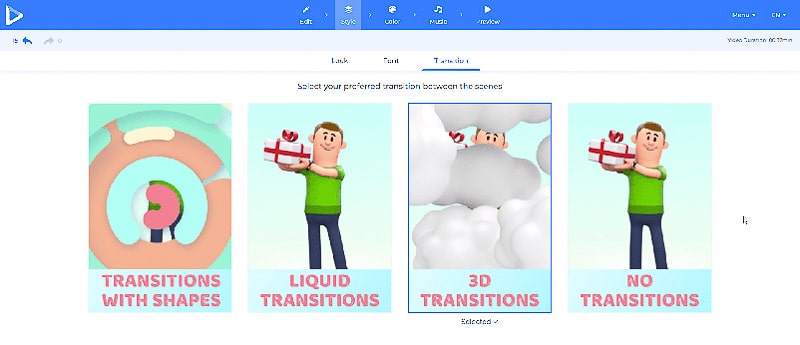
Then, choose a transition to make your perfect video.
Go back to the “Edit” mode. Our video editor will automatically take a snapshot for you.
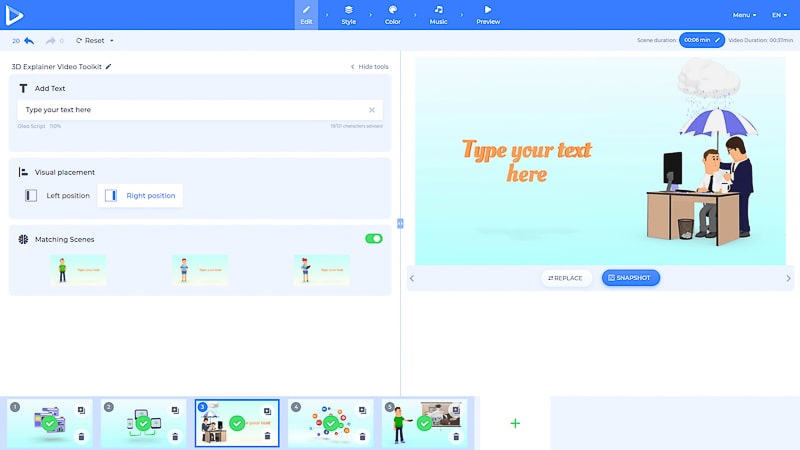
No need to Preview the whole project again and again, just take a few snapshots.
You would also like to see how your picked brand colors or color pallets will look like on your final output? Click on the “Color” tab to select the palette you prefer or pick your own colors.
 Once it’s done, go back to the “Edit” section to see the applied colors. You can make as many changes as you like, until getting the color combination you need.

To understand how it works in case of using images, let’s choose any scene from the Image Holders category.
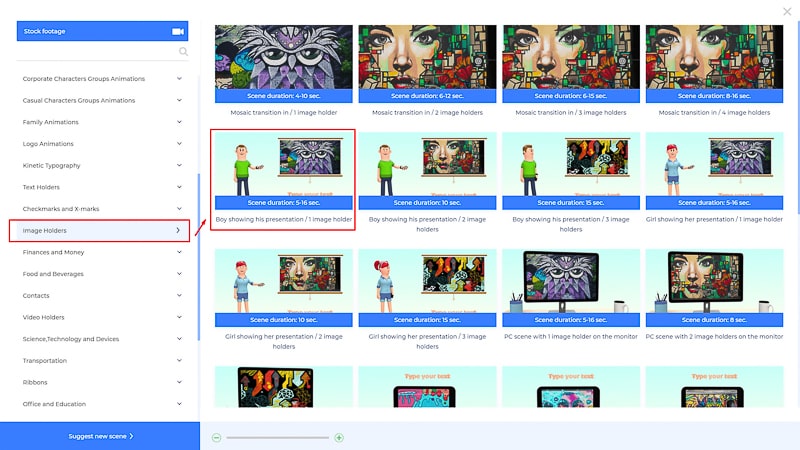
Upload your image and take a snapshot to see how it works.
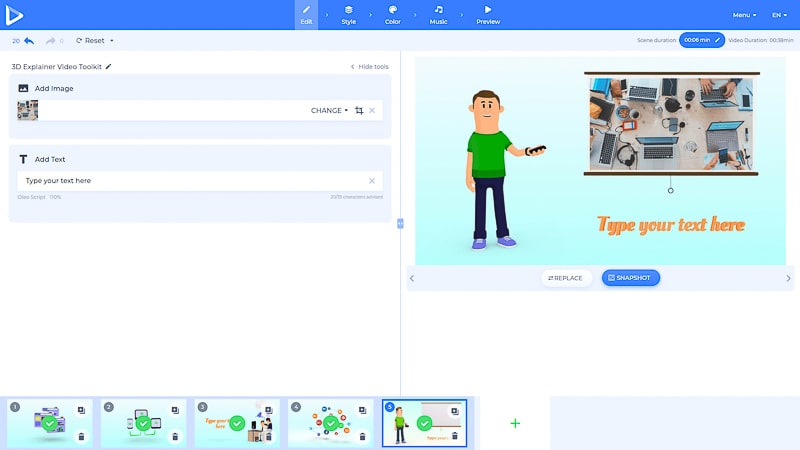
Play around to create your next video with our new feature. How do you like it? Saves so much time, doesn’t it? Try it out now by picking a template and creating your new project!
Article by: Renderforest Staff
Dive into our Forestblog of exclusive interviews, handy tutorials and interesting articles published every week!
Read all posts by Renderforest Staff

