
AI
Have you already seen our advanced voiceover trimmer? Now, you can easily sync your voiceover with every selected scene of your video. With this feature, you can easily edit your product explainer videos and demos, tutorials, social videos, video ads, and presentations.
Let’s see how it works!
In the Music section of our video editor, you can add a music track and a voiceover. Click on “Add Voiceover.” Here you can upload your full voiceover.

This will redirect you to our advanced trimmer, where you can match the voiceover with the scenes. Click on the scene to which you want to add voiceover, and select “Upload”.

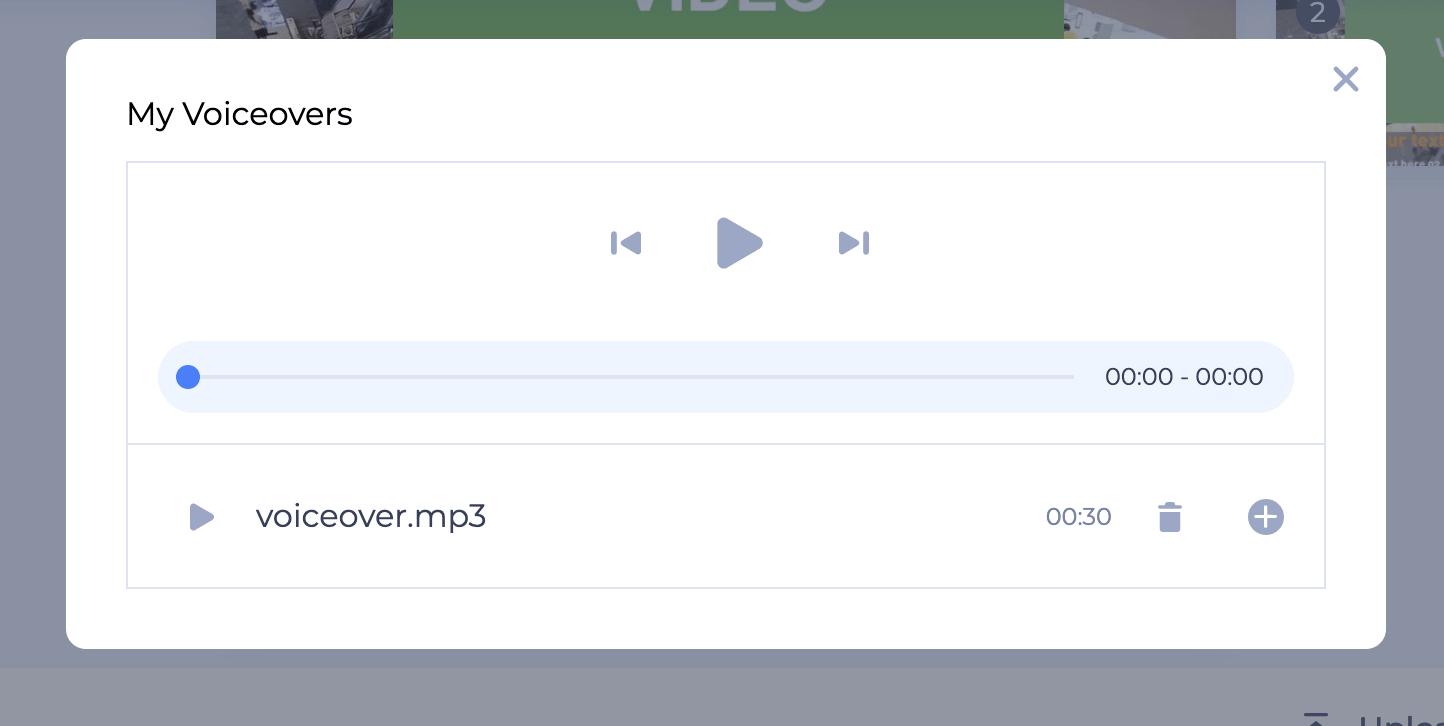
After the voiceover has been uploaded, select the “+” button to add it to the scene.
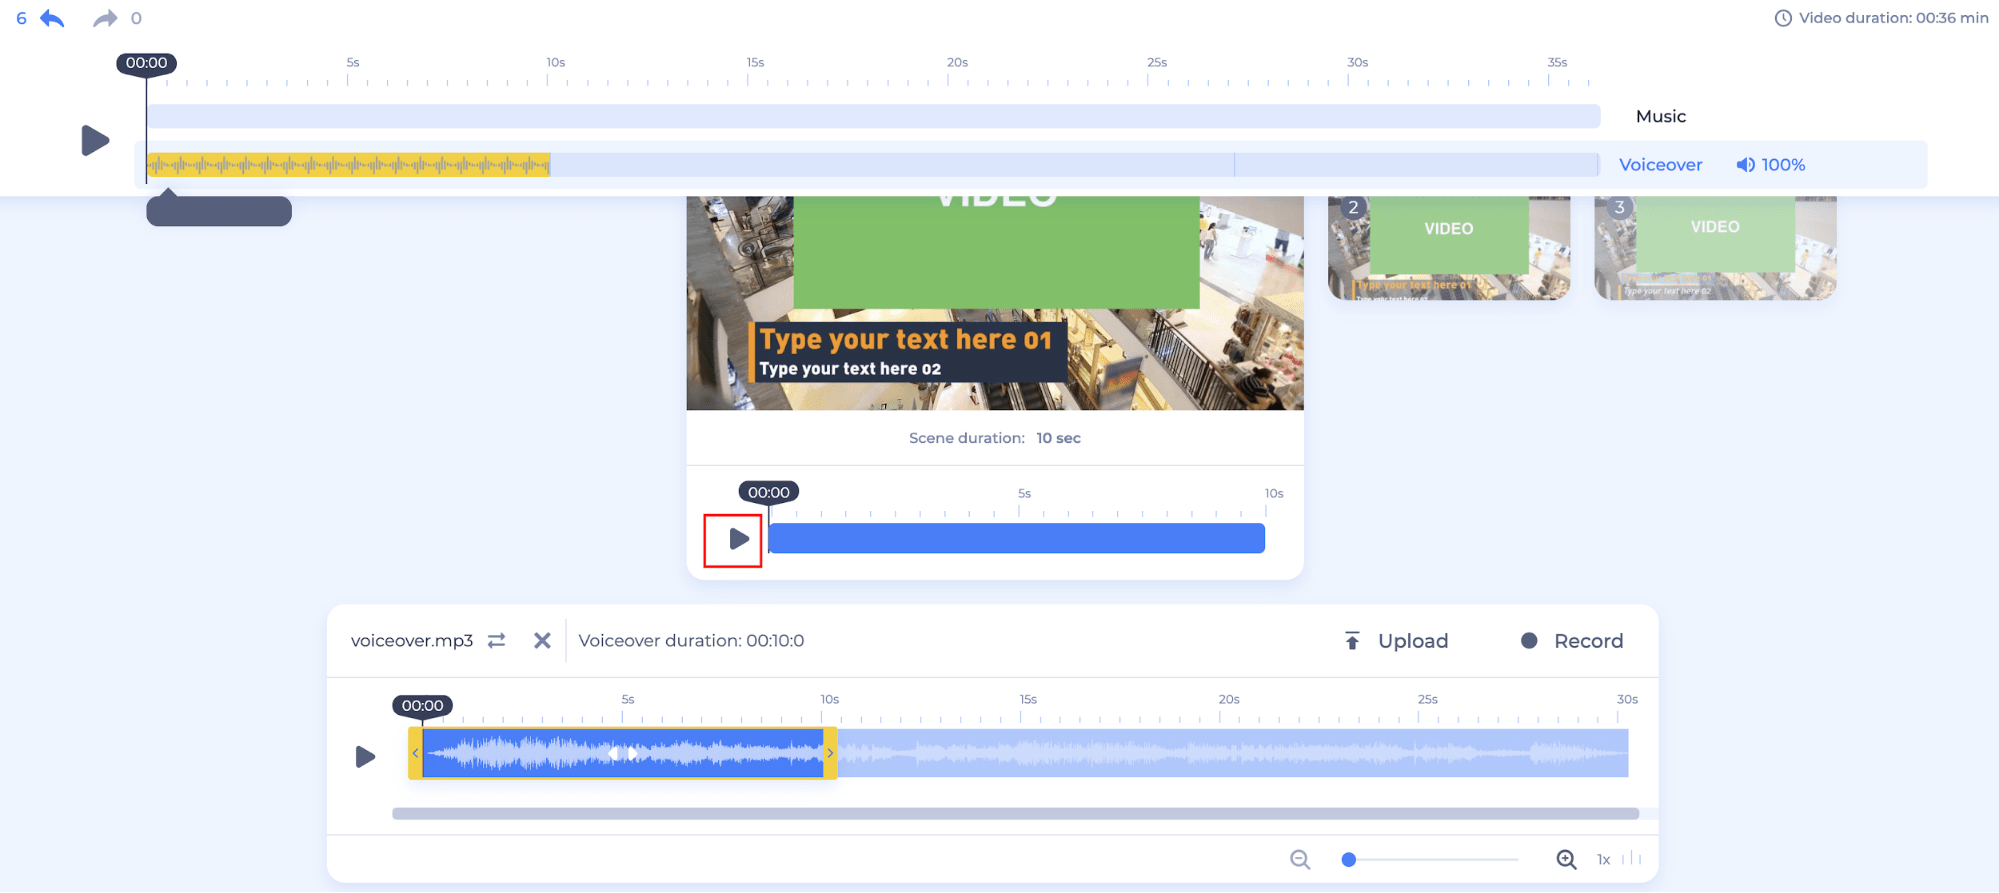
Now, you can adjust the scene and the voiceover duration with the help of the trimmer. Click the play button on each scene to preview it, and edit the voiceover section, if necessary.
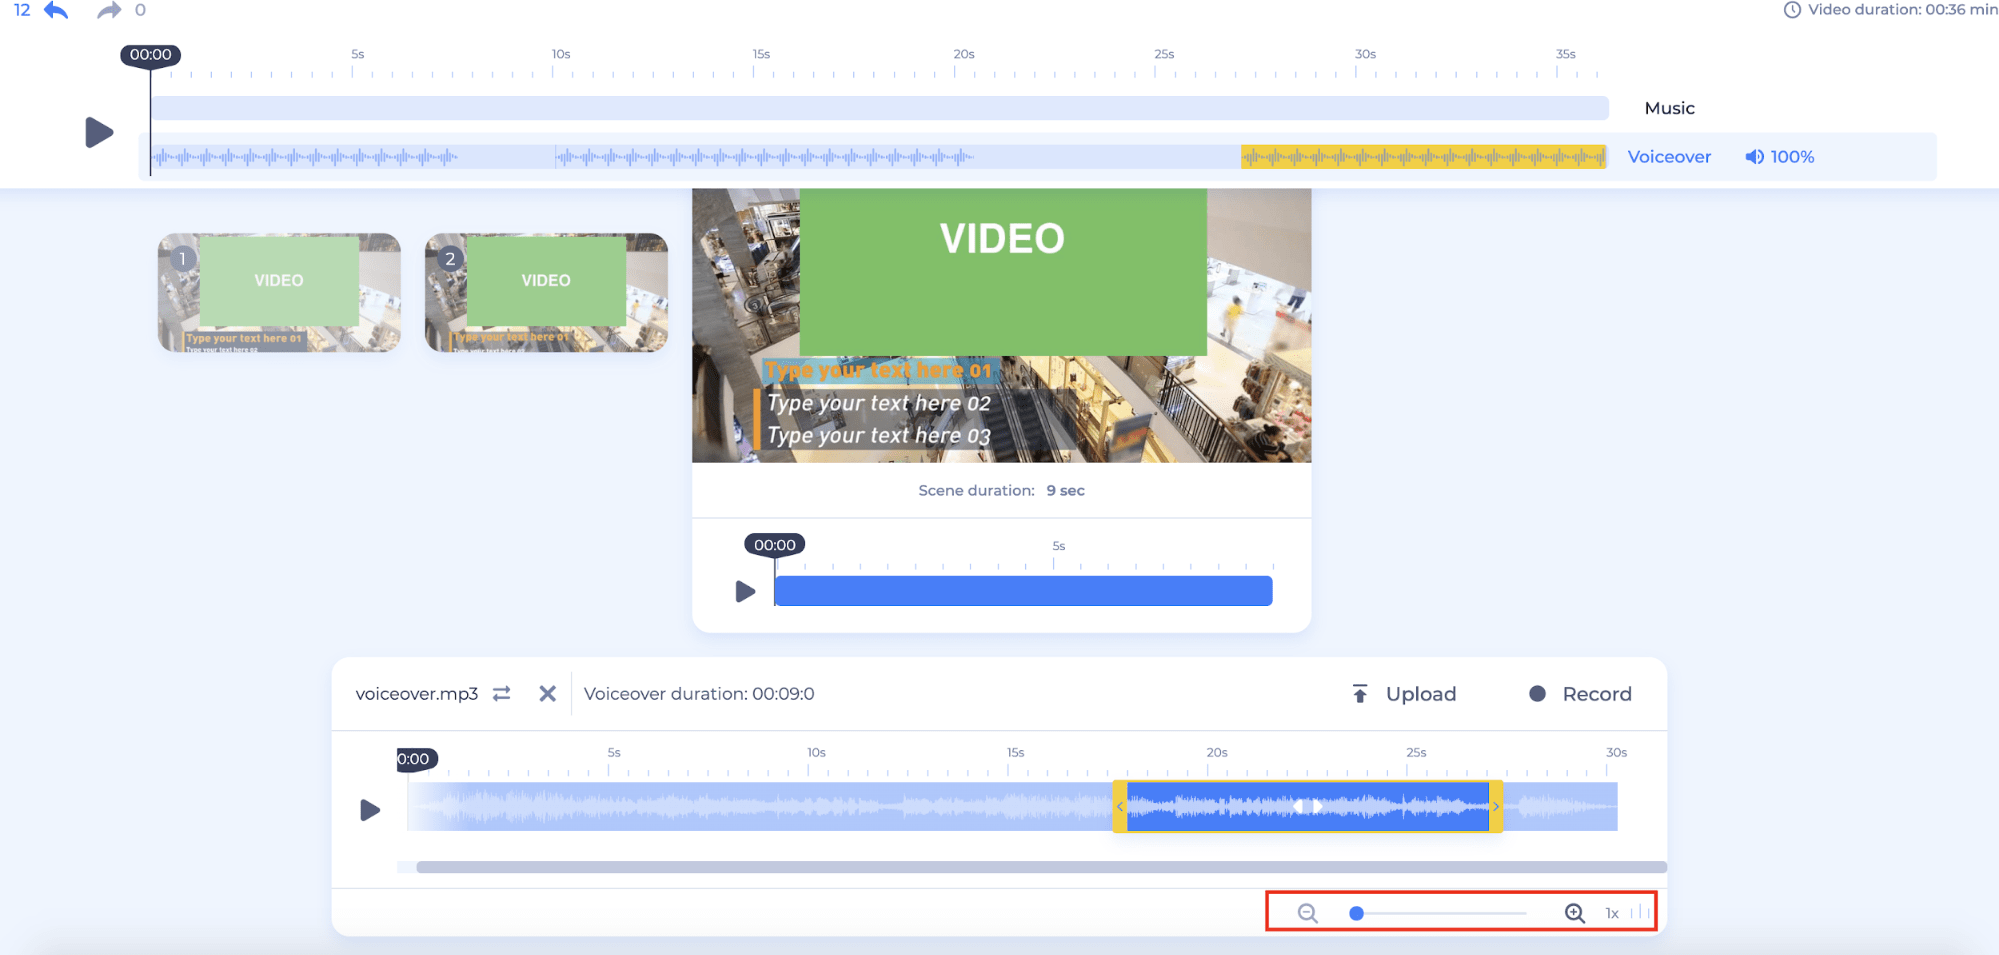
To continue, simply click on the next scene. The changes will automatically be saved.

For more precise cropping, zoom the voiceover row in or out.
Play the entire video to see if the voiceover matches your scenes.

You can also combine a voiceover with a selected background track. For this, select the “Music” track again. From here, upload your music, or select one of the background tracks available in our library by clicking the “+” button.
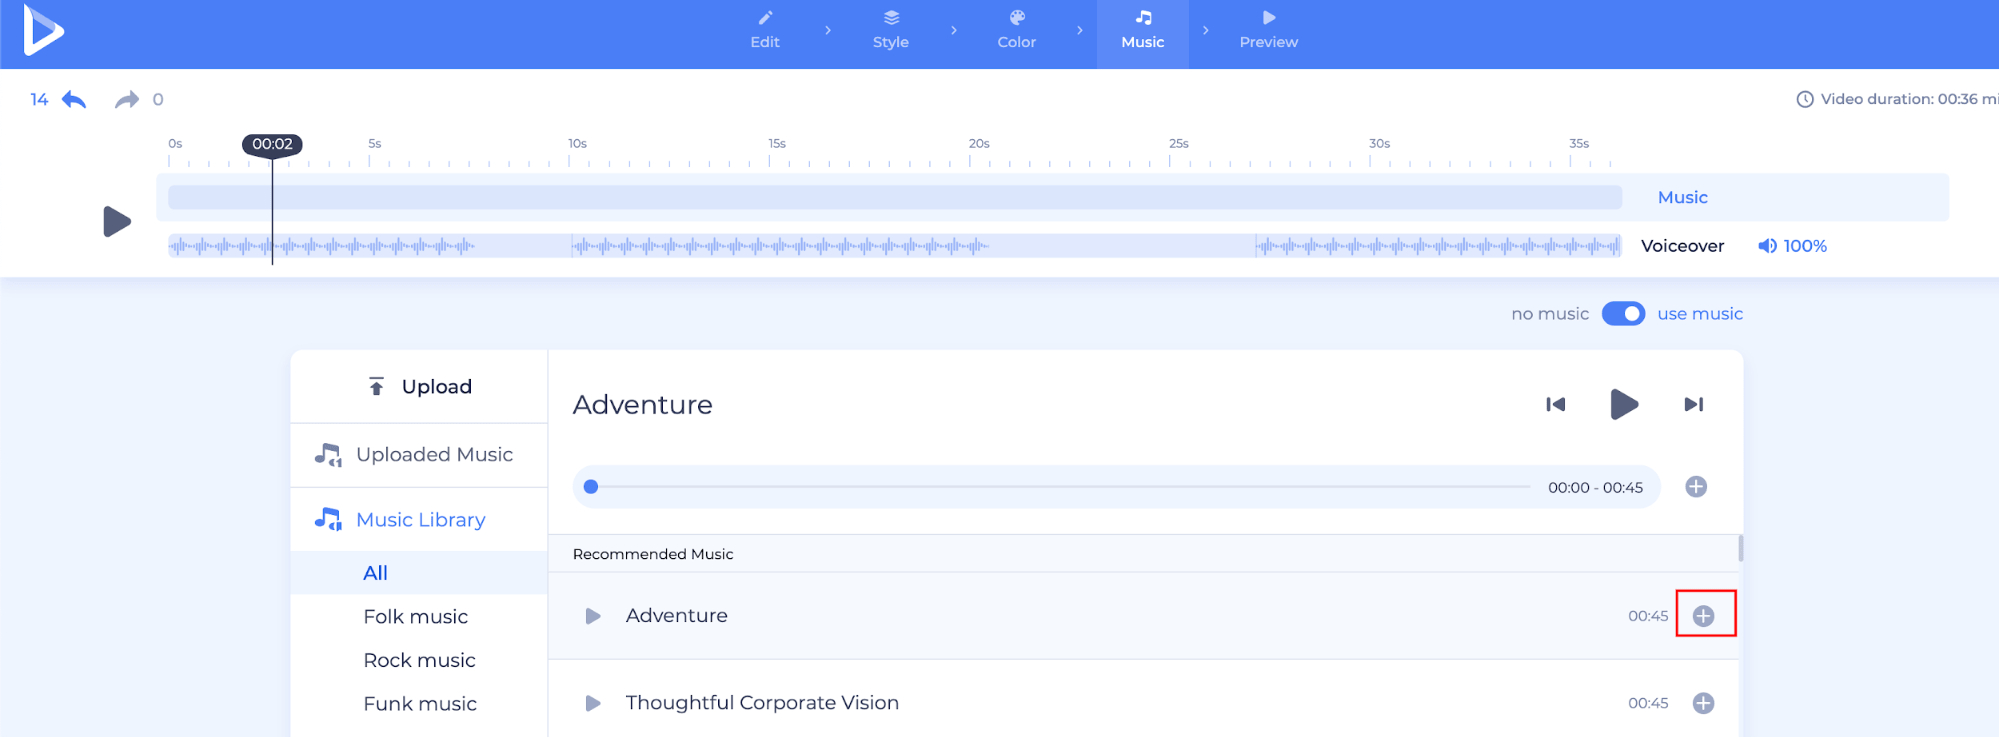
That’s it. Your voiceover and background music was added to the video. Pretty easy, isn’t it?
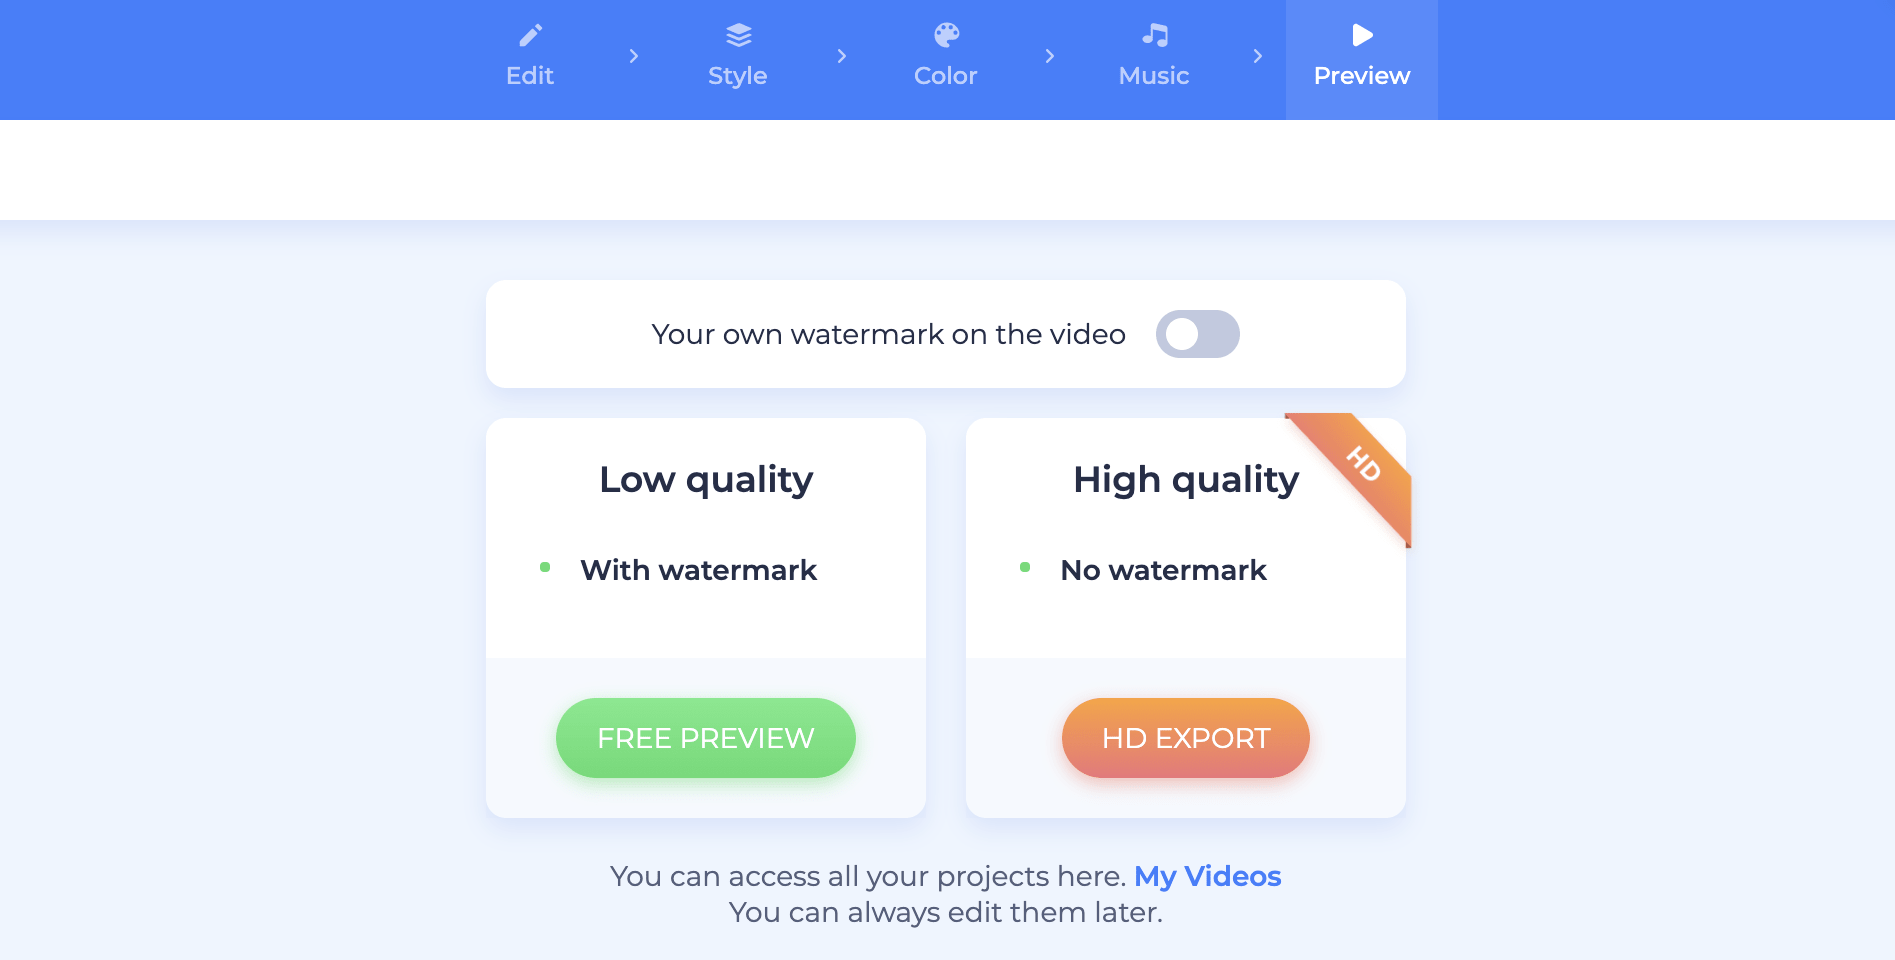
Take a look at how the video looks from the “Preview” section by selecting “Free Preview.” If everything looks and sounds the way you want it to, export the video.
Along with other audio tools, such as the audio waveform and sound wave video generator, the new voiceover trimmer feature is available to all subscribed users.
Would you like to try it now?
Article by: Renderforest Staff
Dive into our Forestblog of exclusive interviews, handy tutorials and interesting articles published every week!
Read all posts by Renderforest Staff

